Why a production tracking tool?
Understanding the value before you start
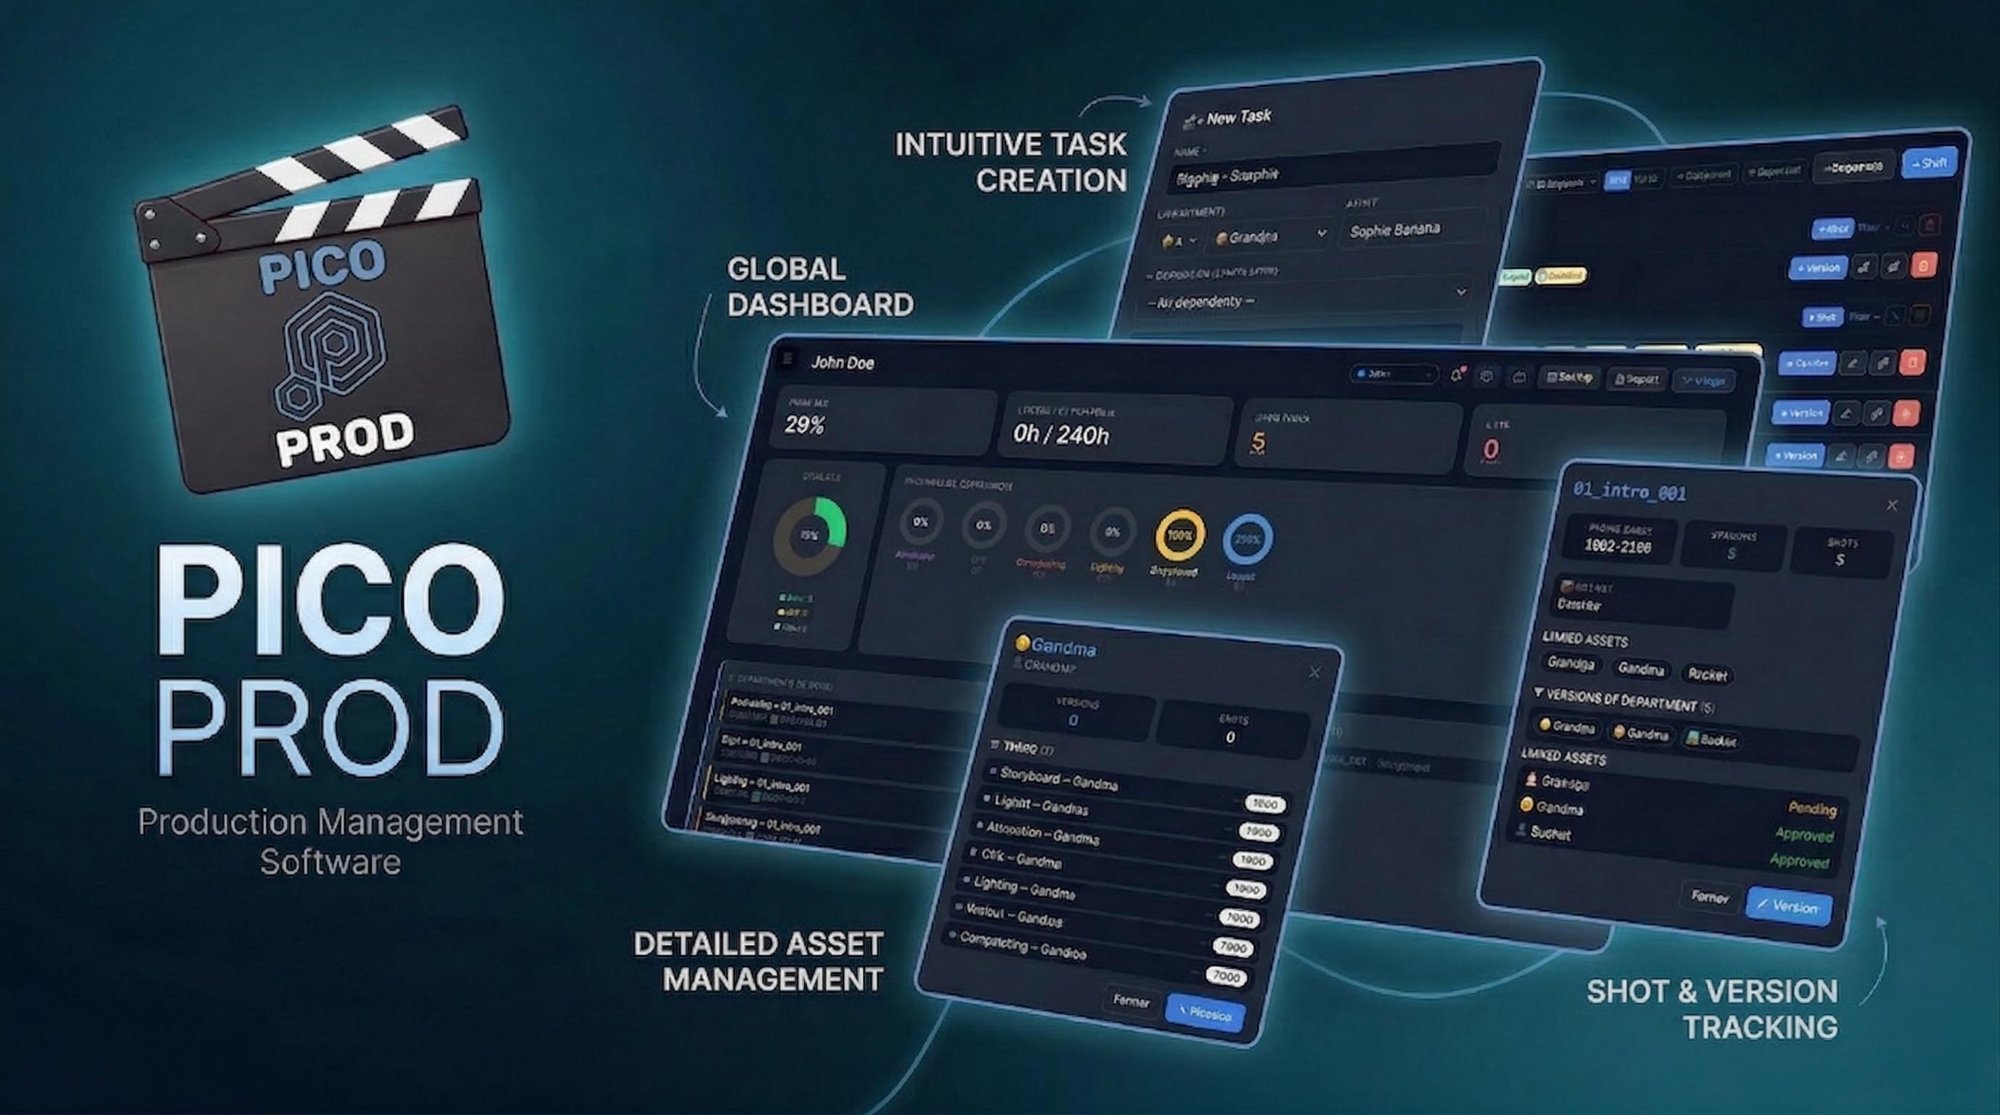
On an Animation or VFX production, dozens of people work in parallel. Without a dedicated tool, information gets lost in emails and spreadsheets. Picoprod centralizes everything: who does what, at which stage, with which deadline.
| Without a tool | ❌ "Who is rigging character A?" — nobody knows |
| With Picoprod | ✅ Thibault, WIP, 60% — visible in one click from anywhere |
| Without a tool | ❌ You discover a delay 3 days too late |
| With Picoprod | ✅ Automatic alerts on overdue tasks |
| Without a tool | ❌ Versions get mixed up (v1_final_2_ok.fbx...) |
| With Picoprod | ✅ Centralized version history per shot and department |
Create your project
The first thing to do
A project is the main container. Everything — team, assets, shots, tasks — belongs to a project. Picoprod lets you manage multiple projects simultaneously.
Open the "Projects" section
In the left sidebar, click Projects. You'll see your list of projects (default: "My First Project").
Rename your project
Click the ✎ (pencil) button and enter your production's name (e.g. "Louxor", "Short Film 2026"...).
Create a new project if needed
Click + New project. The new project becomes active automatically.
Build your team
Add the members who will work on the project
Each team member is an artist in Picoprod. Artists are assigned to tasks, appear in reports, and can log in via the Login selector.
Go to "Team"
Click Team in the left sidebar.
Click "+ Member"
Fill in the First name (required), last name, role and a distinctive color for the Gantt.
Log in
At the top right of any page, select your first name. The dashboard switches to your personal view and your notes are automatically signed.
Create assets
Characters, sets, vehicles, effects...
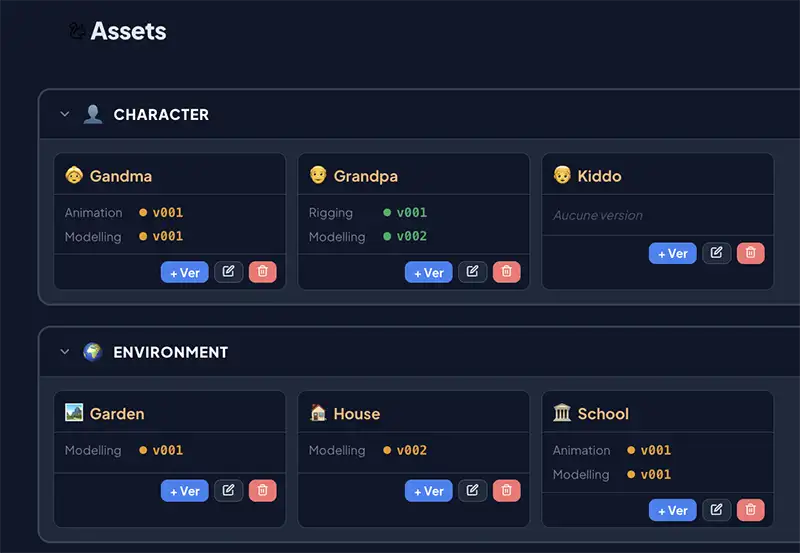
An asset is any graphic element of your production. Each asset can receive versions submitted by artists, organized by department.
Go to "Assets"
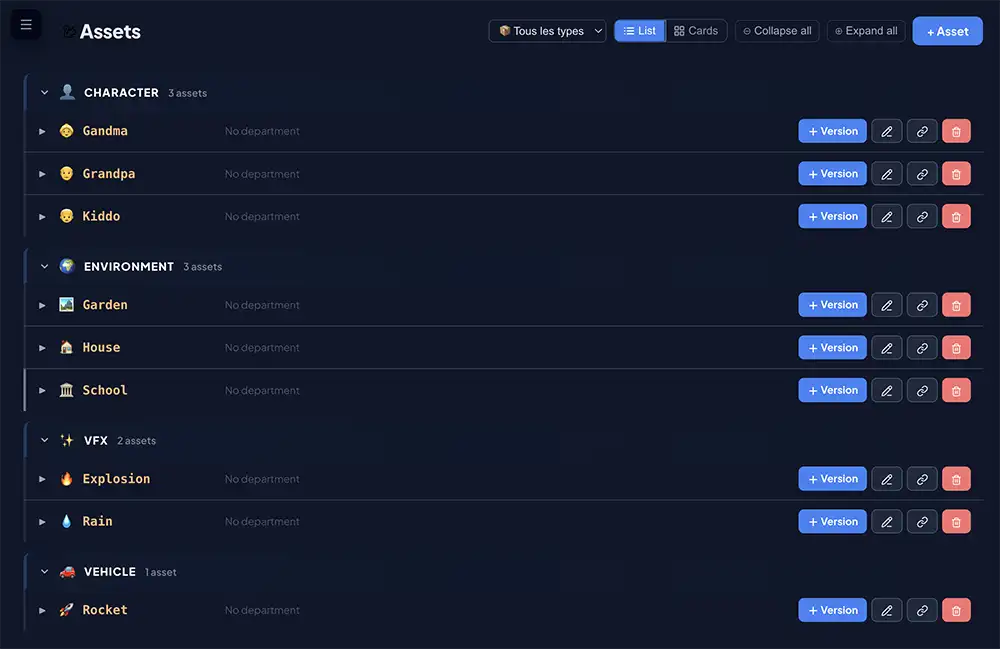
Use the "Type" filter to view by category: Character, Prop, Environment, VFX...
Click "+ Asset"
Fill in the Name, Type, and optionally a custom emoji and comments.
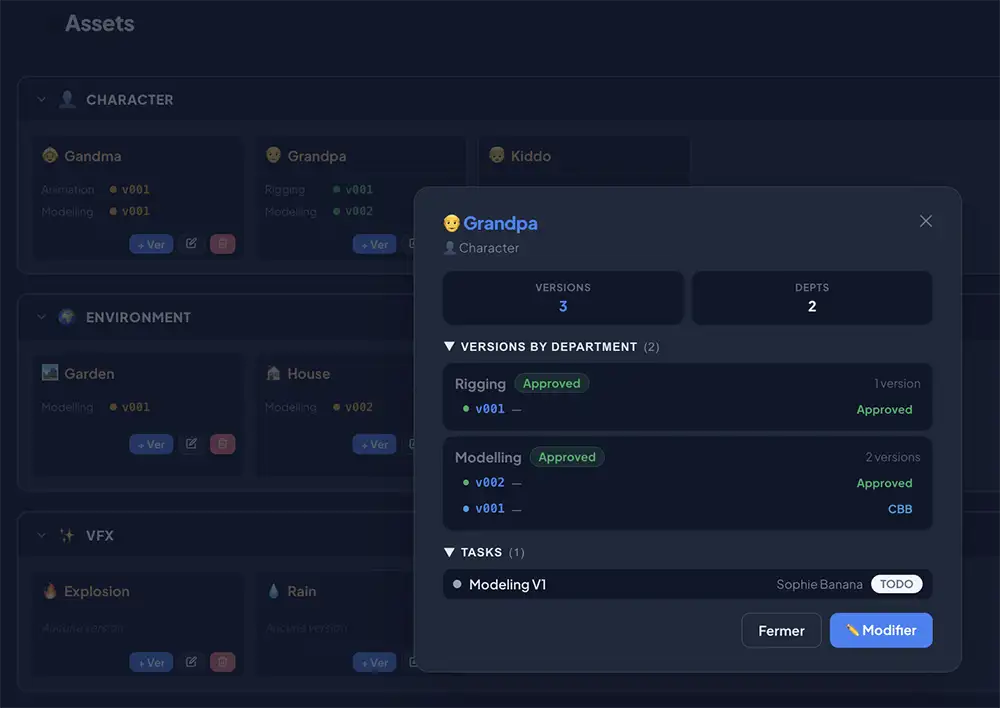
Check the info panel
Click an asset to see its panel: KPIs, filled-in fields, versions by department and linked tasks — all collapsible.
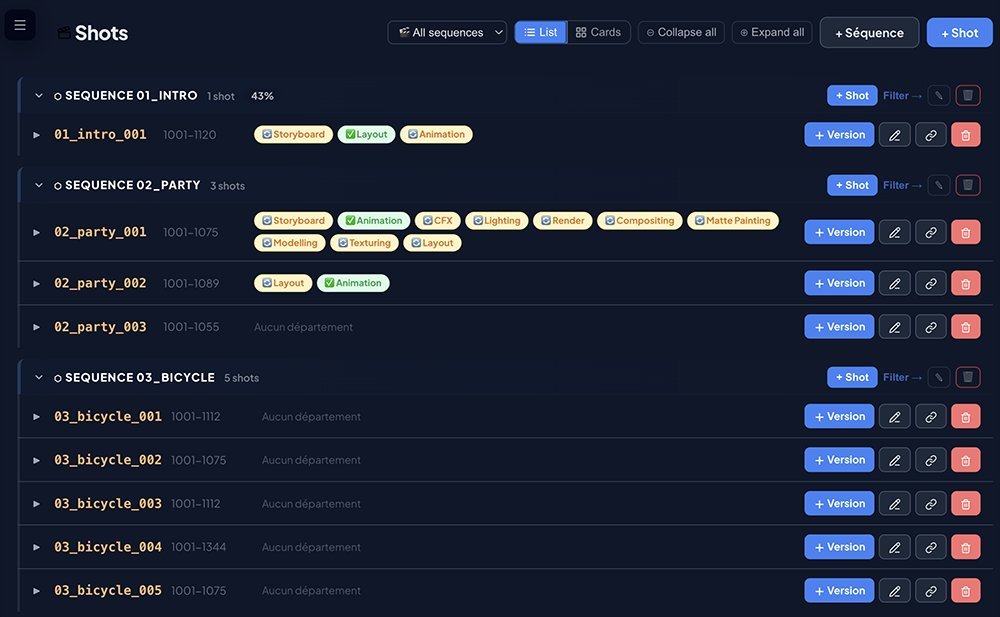
Sequences & Shots
Structure your film shot by shot
A film is broken down into sequences then shots. A shot's ID = sequence name + underscore + number: 01_intro_010.
Create a sequence
Shots section → "+ Sequence". Name it: "01_intro", "SQ010"...
Create shots
Click "+ Shot" in the sequence header. The sequence is pre-selected — just enter the number (e.g. "010").
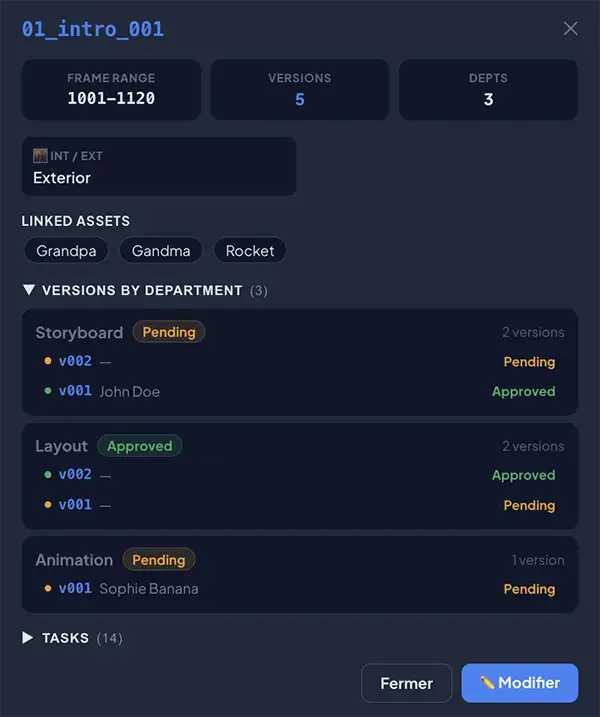
Check the info panel
Click a shot: Frame Range, linked assets, versions by department, tasks — all at a glance.
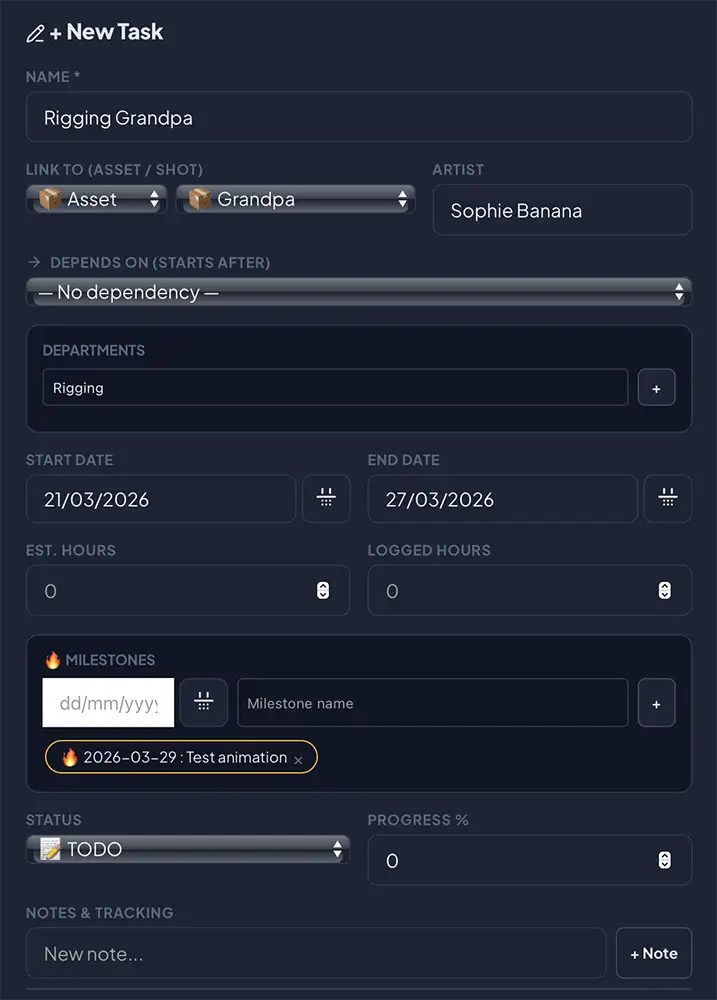
Create and manage tasks
The heart of production planning
A task represents work to be done with an assignee, dates, a status and a progress level.
Create a task
Tasks section → "+ Task" or press N. Fill in name, artist and dates.
Link to a Shot or Asset
Two separate selectors: choose Shot OR Asset. One locks when the other is selected.
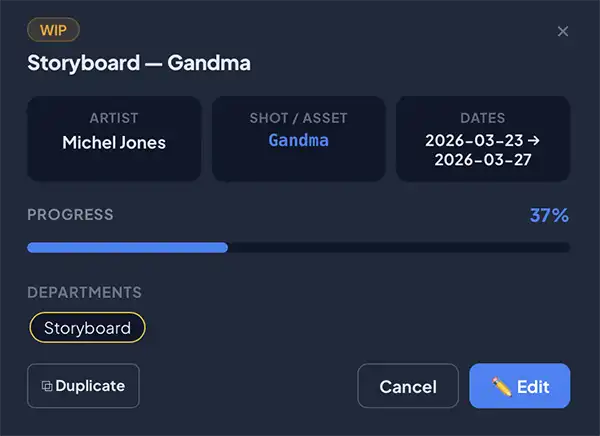
Info panel with slider
Click a task to open its panel. Slide the bar to update the % without opening the full form.
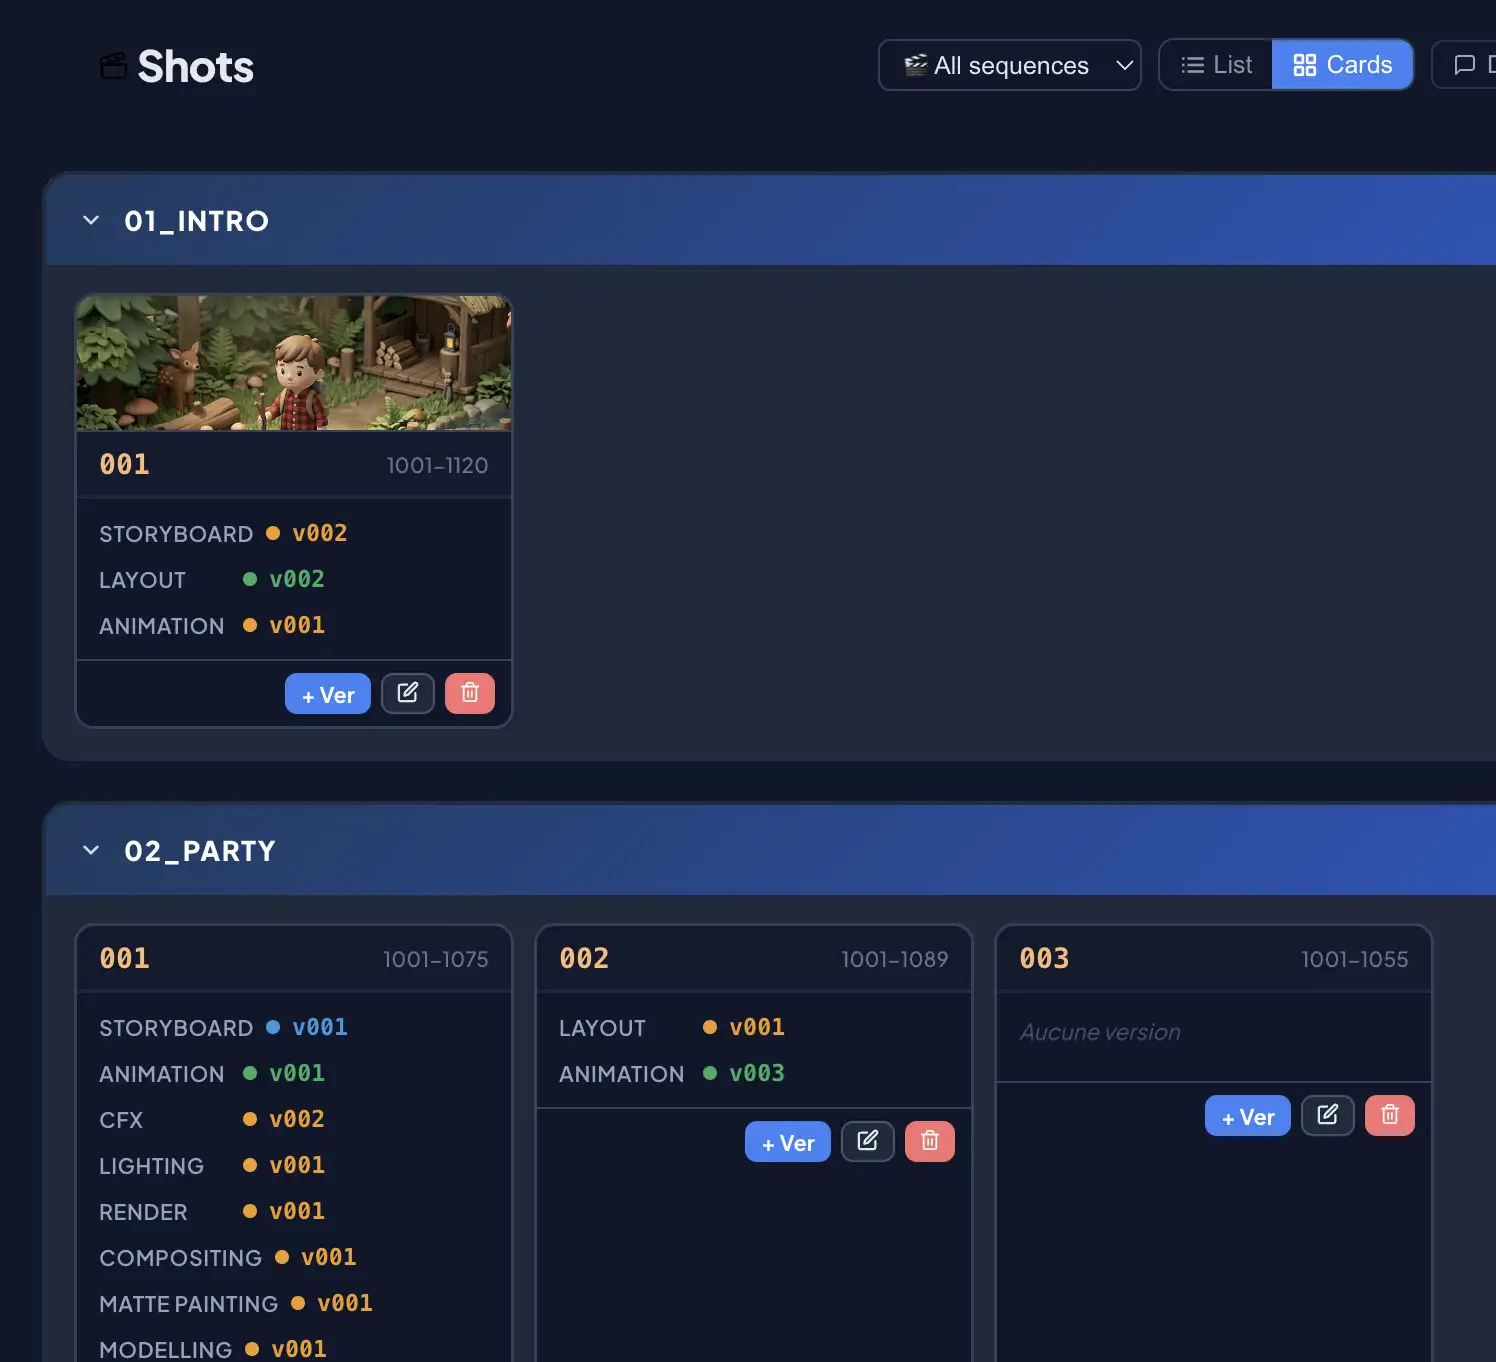
Planning Views
Gantt, Kanban and List
Three complementary views accessible via the buttons or shortcuts G K L.
| Gantt | Full calendar — overlaps and dependencies between tasks. Shortcut G |
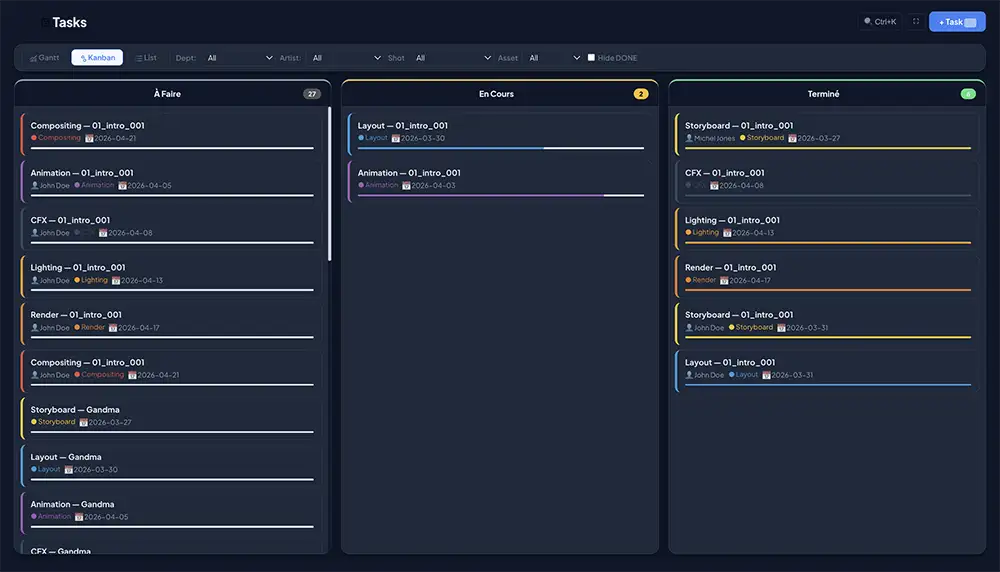
| Kanban | TODO/WIP/DONE progress by drag & drop. Shortcut K |
| List | Full table: multi-select, batch actions, quick inline edit. Shortcut L |
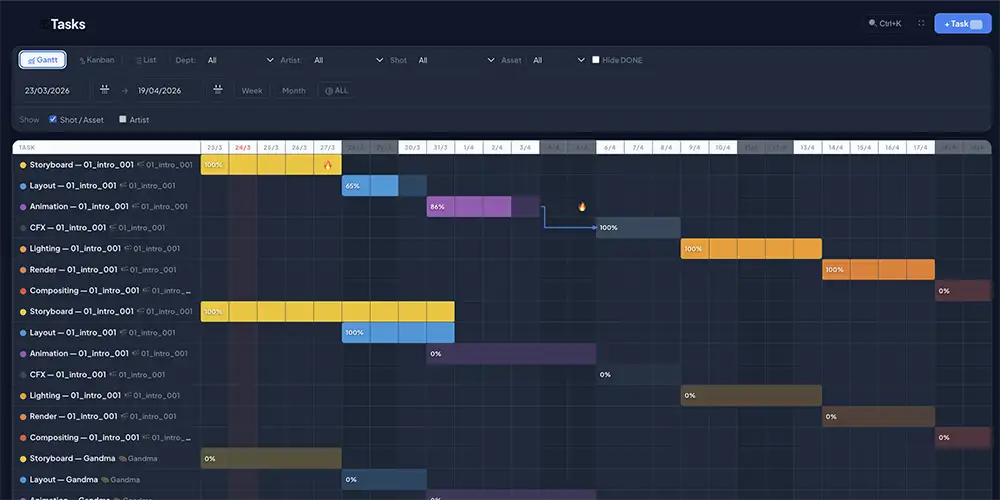
Interactive Gantt
| Drag a bar | Click-drag a bar to move the task — dates recalculate automatically |
| Stretch a bar | Pull the left or right edge to change start or end dates |
| Sticky column | Task name column stays visible when scrolling horizontally — resizable by drag |
| Working days | Configure your working days and off days in the Tasks section — off days appear grey |
| Auto cascade | Enable in Settings to automatically shift dependent tasks when a task is moved |
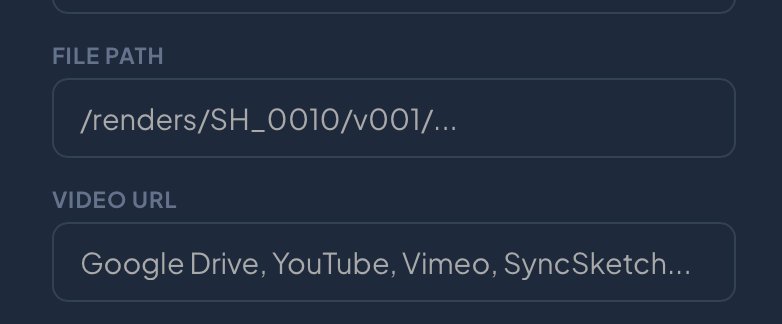
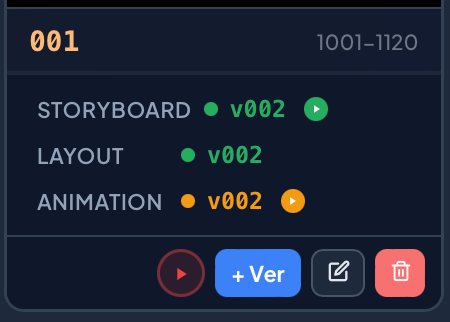
Video URL on versions
When creating or editing a version, you can paste a video URL (Google Drive, Vimeo, SyncSketch…). A ▶ button then appears on cards and in the popup, coloured by status.
Keyboard shortcuts
Dashboard
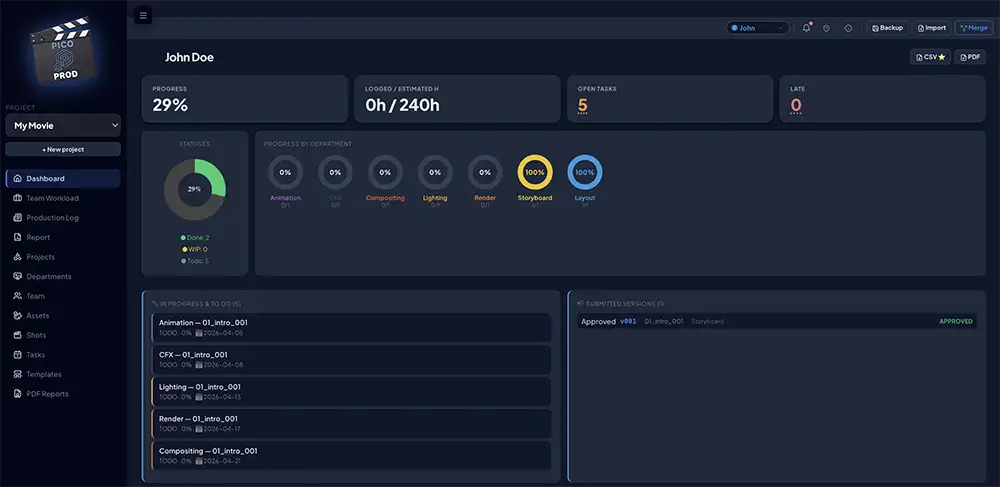
Overview of your project's health
The dashboard centralizes key indicators. Logged in = personal artist view. Logged out = full project view.
| Progress | Average % completion of all tasks |
| Open tasks | TODO + WIP. Click to see list sorted by deadline |
| Late | Overdue unfinished tasks. Click for the red list |
| Pie charts | A mini pie chart per department: DONE (dept color), WIP (amber), TODO (grey) |
| My day | Active tasks for today + overdue, when logged in |
Backups & Sharing
Protect your work and collaborate
Picoprod stores your data in your browser's localStorage — fast and private, but you need to save regularly.
Daily backup
Global bar top right → Backup. With multiple projects, a window lets you choose which to export. Name the file with the date.
Import
If project already exists (same name) → offers Replace or Merge. If different name → added automatically.
Merge — sync with the team
Global bar → Merge → select a colleague's file. Picoprod merges intelligently without overwriting your data.
Budget ⭐ Pro
Track your production costs simply
The Budget section lets you see planned and actual production costs in real time, by setting daily or hourly rates for your artists and departments.
Set your global budget
In the Budget section, enter your total production envelope in the Total Budget field. A consumption gauge appears automatically.
Add rates by artist
Select an artist from the dropdown, choose the unit (day or hour), enter the rate and currency. Costs are calculated automatically from their task hours.
Department rates (optional)
For tasks without an assigned artist, set a department rate. Useful for estimating budget before building the team.
The 3 charts
Planned budget breakdown by department
Planned vs Actual — red outline if over budget
% of global budget consumed
Startup Checklist
Everything you need to do to get started
To go further, check out the Full Guide with templates, PDF exports, smart Merge and all advanced tips.
📖 Read the Full Guide →